Step-by-Step Installation of a 100 kW Generator for a Home in Greenwich, CT |
|
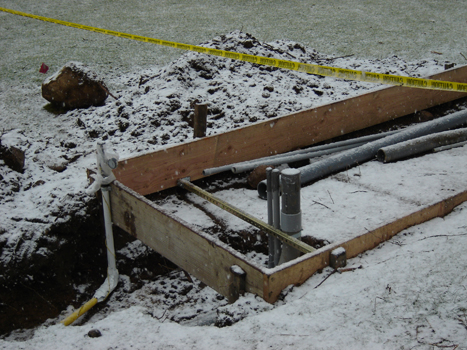
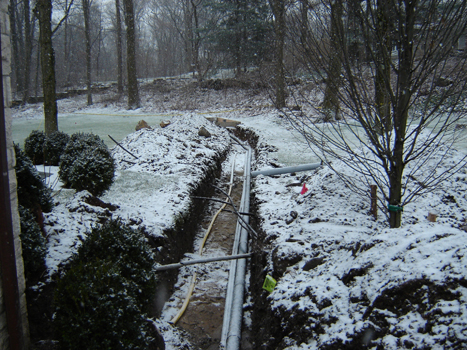
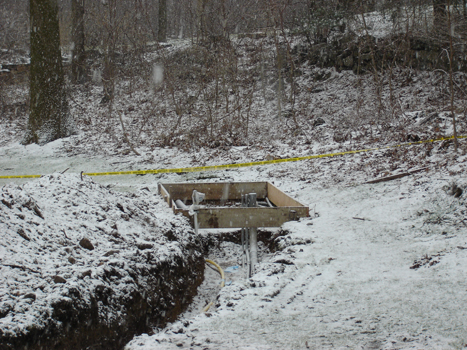
After the site has been chosen for a generator location, we trench for conduit and fuel to the site of the generator pad. The pad is formed with lumber into a 4' x 10' rectangle. The conduits are brought up through the pad at the proper location. The form is then filled with 4" of gravel, and then 4" of concrete to make a firm base for the generator.
Excavation for electrical conduit and natural gas fuel piping for remote generator site.
Generator pad ready for backfill, gravel and concrete.
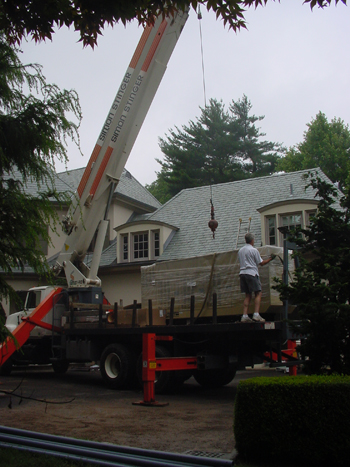
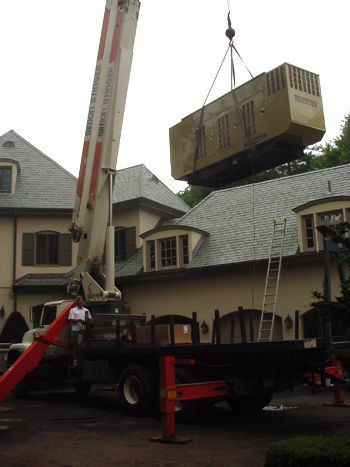
A rigging company preparing to unload a 100KW generator set for a residence in Greenwich, CT. This generator was capable of powering the home's 400 amp electrical service, including air conditioning in the summer months. Generator sizing must be calculated, or the customer could pay for too much generator.
The rigger lifting the generator to its pre-installed concrete pad.
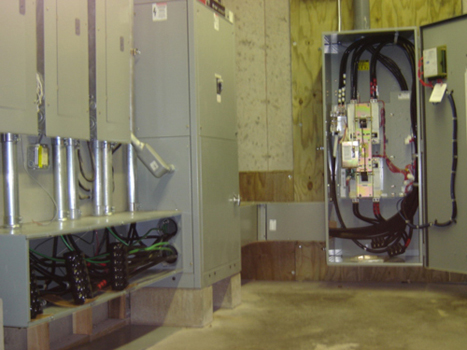
Installation of a 600 amp Automatic Transfer Switch (ATS), used to transfer the entire house electrical load from Utility power to Generator power automatically. Upon Utility failure the ATS will automatically start the generator. When the generator is up and running, the ATS will switch the house electrical load to Generator power. Upon Utility power restoration, the ATS will monitor the Utility power and when it is stable, will re-transfer the house electrical load back to Utility power. The ATS will then shut the generator down after a short "cool down" cycle. The customer's total power outage is limited to 15 seconds.
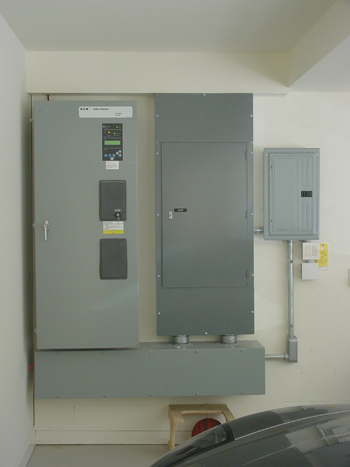
A finished installation of a 400 amp Automatic Transfer Switch (ATS) and main distribution panel.
|
